Navasakam Portal: Step-by-Step Guide to Application Process
The YSR Navasakam Portal is an essential platform for Andhra Pradesh residents to apply for government welfare schemes. These schemes offer financial support for various communities and groups, including senior citizens, widows, women self-help groups, and others.
If you’re looking to apply for one of the welfare schemes on the Navasakam Portal, this step-by-step guide will walk you through the application process in a simple and clear way.

Step 1: Visit the Navasakam Portal
To get started, open your web browser and visit the official YSR Navasakam Portal:
Make sure you’re on the official site to avoid scams or phishing websites.
You can also read: Track Your Navasakam Application Status with Ease Update 2026
Step 2: Log in to the Portal
To access the application section, you’ll need to log in using your Aadhaar number.
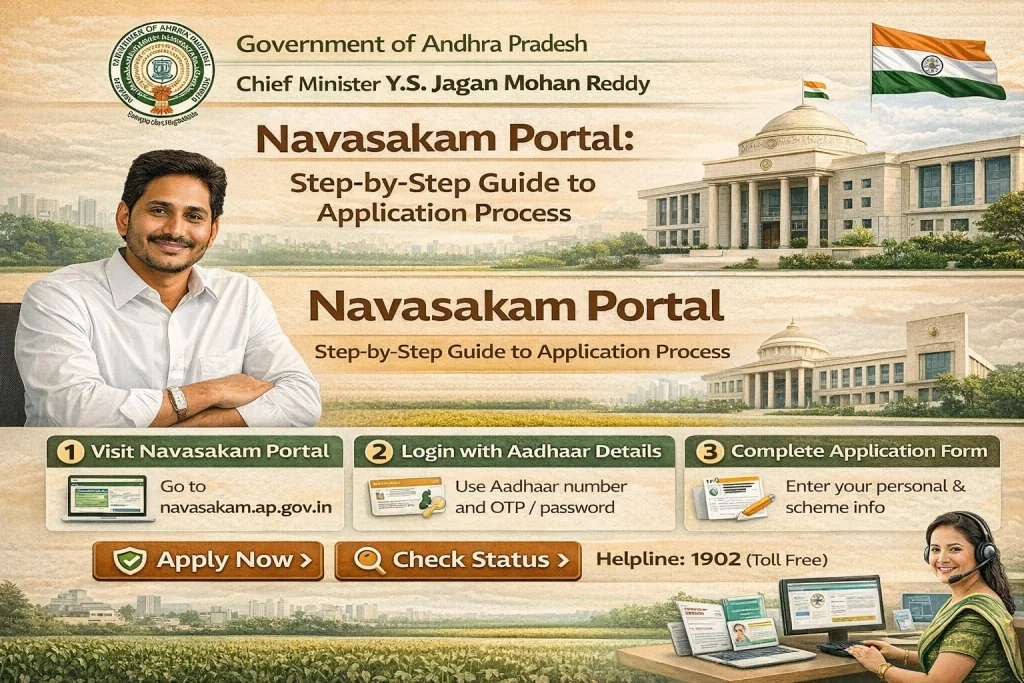
Here’s how to log in:
You will be logged into the portal and directed to your profile page.
Step 3: Select the Scheme You Want to Apply For
Once you’re logged in, you’ll see a list of available welfare schemes that you can apply for. These schemes may include:
Choose the scheme that you want to apply for by clicking on the scheme name.
Step 4: Check Eligibility for the Scheme
Before proceeding with the application, you’ll need to check if you’re eligible for the scheme.
Step 5: Fill Out the Application Form
If you’re eligible, you can move forward with filling out the application form.
Here’s what you’ll need to do:
Personal Details
Fill in your name, address, contact details, etc.
Family Details
Include information about your family members and their income (for income-based schemes).
Bank Details
Provide your bank account information for direct benefit transfer (DBT).
Aadhaar Details
Confirm your Aadhaar details, which are used for identity verification.
Other Information
Depending on the scheme, you may be asked to provide additional information.
Ensure all details are entered correctly to avoid errors that could delay your application.
Step 6: Upload the Required Documents
Once you’ve filled in all the necessary details, the next step is to upload the required documents. These might include:
Tips for Uploading Documents:
Step 7: Review Your Application
Before submitting your application, take a moment to review everything:
Once you’re sure everything is correct, click on the “Submit” button.
Step 8: Receive Confirmation
After you submit your application, you’ll receive a confirmation message on the portal. You may also receive a reference number or receipt for your application.
Keep this reference number safe! It will be required to track the status of your application.
Step 9: Track Your Application Status
After submitting your application, you can track its status at any time:
The status could show as Under Review, Approved, Rejected, or Disbursed (if the funds have been sent).
Common Issues to Watch Out For
FAQs
Final Words
Applying for YSR welfare schemes through the Navasakam Portal is easy when you follow the simple steps above. Be sure to enter accurate details, upload clear documents, and check your eligibility before submitting your application.
If you encounter any issues, don’t hesitate to contact the support team or visit a nearby help center. Good luck with your application!